Using the Arpeggiator in Ableton Live
Find all there is to know about the Ableton Live arpeggio effect, the Arpeggiator.
The Arpeggiator lets you create inspiring tone sequences by taking the notes that you play and turning them into a rhythmic pattern. Here we'll go through all the features and settings of the Ableton Live Arpeggiator.
Table of Contents
What is the Arpeggiator?
The Arpeggiator is a MIDI Effect that is available in all Ableton Live versions — Intro (previously called Lite, Standard and, finally, the Ableton Live Suite — which lets you trigger notes in various orders and rhythms, with adjustable settings such as groove, transposition, and velocity.
Using the Arpeggiator
Adding the Arpeggiator to your track in Ableton Live is as simple as opening the MIDI Effects folder and dragging the Arpeggiator "folder" to your rack (the bottom part of your screen).
If you want to use any of the presets, you can expand the Arpeggiator folder and simply drag one of the presets instead.
Remember, the Arpeggiator MIDI Effect must be placed before the instrument it's supposed to control in your rack. This means that it should be to the left of the instrument in the rack.
Arpeggiator Settings
The Arpeggiator MIDI Effect in Ableton Live offers a variety of different settings, each one letting your set up your unique sequence sound and character. Let's go through each setting and explain how it affects your arpeggio output.
Style
The Style of the Arpeggiator is the setting that changes how it moves between the notes; Up, Down, Random, etc. The various Styles available in the Arpeggiator are the following:
- Up (default)
- Down
- UpDown
- DownUp
- Up & Down
- Down & Up
- Converge
- Diverge
- Con & Diverge
- Pinky Up
- Pinky UpDown
- Thumb Up
- Thumb UpDown
- Play Order
- Chord Trigger
- Random
- Random Other
- Random Once
Groove
The Groove setting of the Arpeggiator lets you adjust the strictness of the arpeggio; should it be played right on the beat or should it have a "swing" effect?
The available Arpeggiator Grooves are:
- Straight (default)
- Swing 8
- Swing 16
- Swing 32
The more swing you tell the Arpeggiator to play more "loosely" which can fit some music genres.
Sync
This setting selects whether or not the Arpeggiator should sync to Ableton's tempo or have its own tempo, which you can then set if you disable the sync. This is an on/off toggle switch.
When the Sync option is activated you can change the Rate from 1/1 to 1/128 of Ableton's tempo, and when it's off you set the Arpeggiator tempo in milliseconds ranging from 10 ms to 1000 ms (one second).
Retrigger
The Retrigger options of the Arpeggiator are the following:
- Off (default)
- Beat
- Note
Select Beat if you want the Arpeggiator to automatically retrigger your pressed notes on each beat, and select Note if you want the Arpeggiator to only retrigger if you press a new note. The Off selection is the default value of the Arpeggiator Retrigger feature.
Offset
The Offset setting of the Arpeggiator offsets your entire arpeggio pattern by the value you select. This setting can be set between -8 and +8, with a default value of 0.
Gate
The Gate setting of the Arpeggiator lets you choose how short or long the notes played in the effect should be. This is set in percentage of a note, ranging from 1 % — lowest value and shortest notes — to 200 % — meaning the notes will be played at double the note duration. The default value of the Gate setting is 50 %.
Reviews
Best Speaker Simulator
Find the best speaker simulator for your money — our favorite doesn't cost much at all.
Best 32-bit Audio Recorders
The hype is real — 32-bit audio recording is here to stay. Here are our top picks.

Best Reverb for Orchestral Samples
Make your Orchestral Samples sound like the real deal by using the reverb effects best suited for the job. Here are our five top picks.

Best Free Piano VST Plugins
Looking for free virtual pianos? We've collected the most popular VSTs that are free and have a great piano sound.
Tutorials
Spitfire Labs Something Went Wrong
This is how you get Spitfire Labs working again if you've come across the infamous "Something Went Wrong" error.
Tube vs Solid-State Compressors: Understanding the Differences
From warmth to transparency, find the perfect compressor for your audio engineering needs with our guide on tube and solid-state compressors.
The Virtual MIDI Keyboard in Ableton Live
In this tutorial, we explain how to use your computer keyboard as both a MIDI keyboard and a MIDI controller.
Using Saturation and Distortion when Producing Audio
Add warmth and power to your music with saturation and distortion - find your unique vintage tone!
Learn the Arpeggiator in Ableton Live
Find all there is to know about the Ableton Live arpeggio effect, the Arpeggiator.

Musical Typing Keyboard in Logic Pro X
Keep making music even without a MIDI keyboard with the Musical Typing Keyboard in Logic Pro X — here's how to use it.
Questions
The Limitations of Ableton Live Lite
Learn all the features and limitations of the cheapest Ableton Live version — Ableton Live Lite.

What is iLok?
Here's everything you need to know about the software copy protection system called iLok.
News
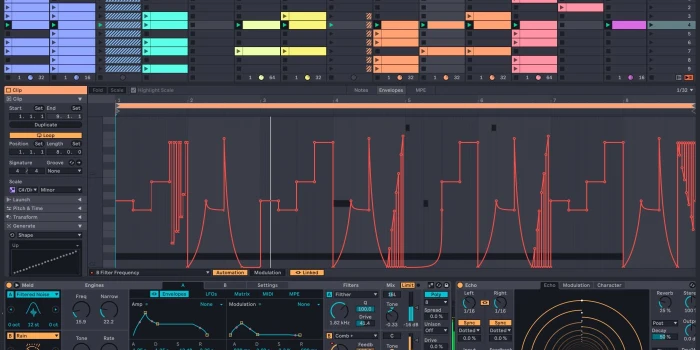
New Features in Ableton Live 12
Ableton Live 12 has been announced, with plenty of new features. Let's take a look.
Ableton Live now supports M1 Macs
After a long wait, Ableton finally delivers and lets M1 users run Live natively.

Luftrum Autumn Sale
Sound designers and plugin developers Luftrum are currently having an autumn sale.
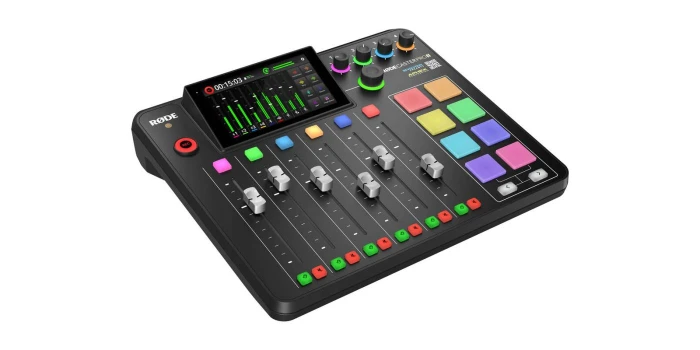
Rodecaster Pro 2 released
Røde has released a brand new version of their popular podcast recording and mixing desk — say hello to the Rodecaster Pro 2.

New Kilohearts Effect: Nonlinear Filter
Find out more about the new Kilohearts effect called **Nonlinear Filter**.
Find the best tools when building your very own music rig, using reviews, tutorials and guides written exclusively for MusicRigs.com — for music creators, by music creators. Links to stores are affiliate links.